 blog
Essential Motocross Bike Setup Tips for Rider Stability
Last Updated: November 2, 2026
Quick Summary
A motocross bike setup should start with sag, then spring rate, then damping clickers, fork height and bar position. Measure rider sag with the rider in full gear standing in the attack position, change one clicker at a time, and log every setting so your results stay repeatable.
- Set sag with the bike on a stand, then measure again with the rider aboard in full gear.
- If free sag is far off, the spring rate is wrong for the rider's weight, not the clickers.
- Follow a fixed order: spring rate first, then sag, then damping.
- Two clicks is a big move, so change one clicker at a time and retest.
- Keep rider sag fixed and adjust damping and tire pressure for track conditions.
Table of Contents
- Why Rider Stability Starts With Measured Setup, Not Guesswork
- Dirt Bike Sag Setup: The Measurement Everything Else Depends On
- Motocross Suspension Setup: Clickers, Spring Rate and Balance
- Using a Dirt Bike Sag Calculator Without Chasing the Wrong Number
- Motocross Handlebar Position, Fork Height and Front-to-Rear Weight Balance
- Diagnosing Stability Problems by Symptom: Headshake, Front-End Push and Traction Loss
- Track-Condition Settings and the Setup Log That Keeps You Honest
- Building a Setup Routine With Your Young Rider
- Frequently Asked Questions
Why Rider Stability Starts With Measured Setup, Not Guesswork
Most riders chase stability by stiffening the suspension and hoping for the best. Readers who want a rundown of common dirt bike riding mistakes that undermine stability can find one there.
A motocross bike setup is the combination of spring preload, damping clickers, fork height, and cockpit position adjusted to one rider's weight and speed.
Here's what most guides get wrong. They hand you a clicker chart and skip the measurement that matters most. Sag comes first.
If you're coming from a "just soften it" habit, expect the first hour to feel slow. Write things down anyway.
Dirt Bike Sag Setup: The Measurement Everything Else Depends On
Dirt bike sag setup is the starting point for every other adjustment. Sag is how far the rear suspension compresses under the rider's weight. Without a correct sag number, clicker changes are guesswork.
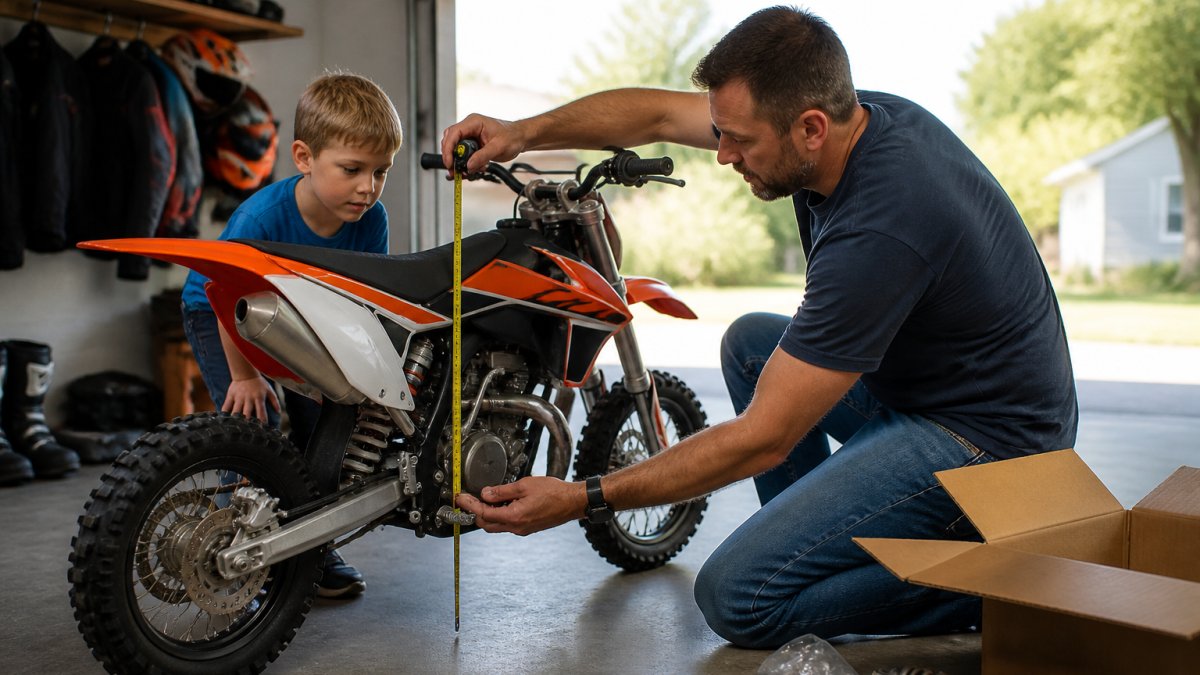
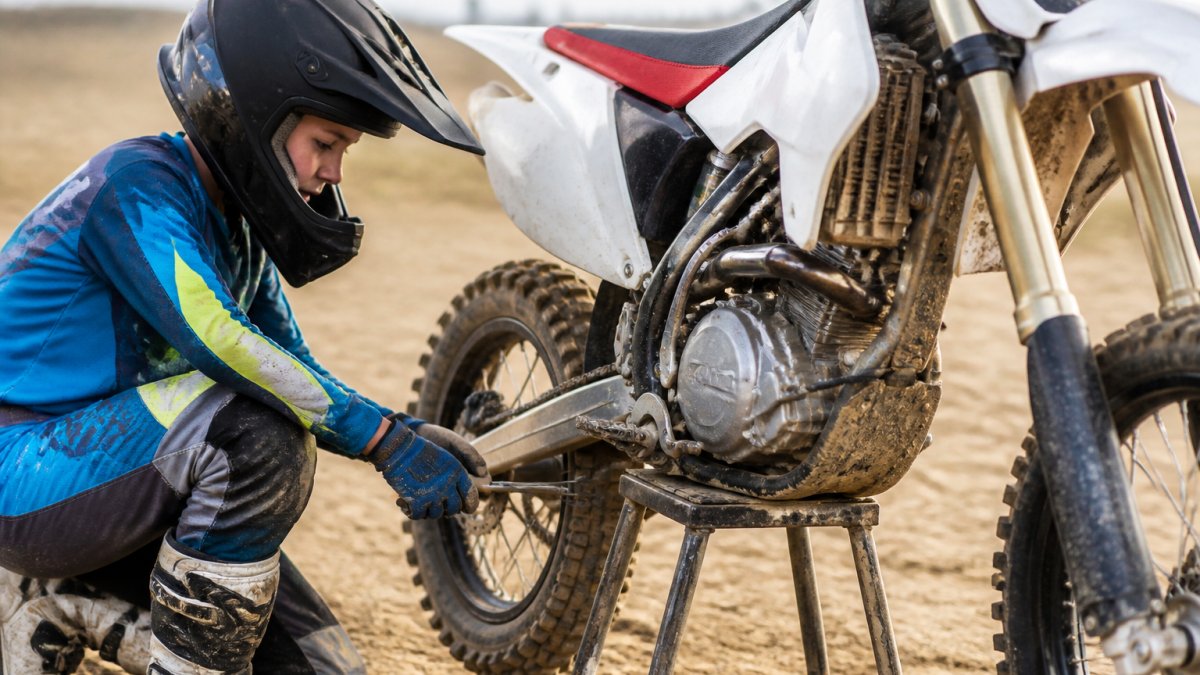
Set sag with the bike on a stand, wheels off the ground. Then measure again with the rider aboard in full gear, standing in the attack position.
How to Measure Rider Sag and Free Sag
- Put the bike on a stand so the rear wheel hangs free.
- Measure from the rear axle to a fixed point on the fender. Write it down.
- Have the rider stand on the pegs in gear, feet centered.
- Bounce down once, let it settle, then measure again.
- Subtract the second number from the first. That is rider sag.
- Lift the rear, let it settle under its own weight, and measure once more. That gap is free sag.
Rider sag is the total compression with the rider on board. Free sag is the small amount the bike settles under its own weight. If free sag is far off, the spring rate is wrong for the rider's weight, not the clickers.
Watch out: measuring with the rider seated skews the number badly. Stand on the pegs, every time.
Motocross Suspension Setup: Clickers, Spring Rate and Balance
Motocross suspension setup follows a fixed order: spring rate, then sag, then damping. Skipping ahead wastes time.
Spring rate carries the rider's weight. Damping controls how fast the suspension moves. A stiff spring with soft damping feels harsh and skates. A soft spring with stiff damping packs down in braking bumps.
Compression and Rebound Adjustments That Fix Headshake
Headshake usually means the front rides too high or the rear rides too low. Try these moves in order:
- Soften rear compression one or two clicks to let the rear settle.
- Add one click of front rebound if the front feels vague.
- Drop fork height slightly only after sag is confirmed.
Change one clicker at a time. Note the setting. Test on the same section of track.
The thing nobody tells you about clickers is that most riders turn them too far. Small adjustments win. Two clicks is a big move.
Using a Dirt Bike Sag Calculator Without Chasing the Wrong Number
A dirt bike sag calculator turns your measurements into a target range for your weight and bike.
Enter rider weight with gear, bike model, and measured sag. The calculator suggests a spring rate and a sag window.
For a young rider, weight changes fast. Recheck sag every few months.
Logging the calculator's output next to your real measurements is a useful habit. When they disagree, trust the tape measure.
Motocross Handlebar Position, Fork Height and Front-to-Rear Weight Balance
Motocross handlebar position and fork height set where your weight sits on the bike.
Bar height affects posture. Roll the bars forward slightly to open the cockpit.
Fork height is how far the fork tubes sit above the triple clamps. Raising the forks drops the front and sharpens turn-in.
Front-to-rear weight balance ties it together. If the front pushes in corners, check sag before touching the bars.
Nelmgerian MX Training Journal →
A common mistake is changing bar position to fix a suspension problem. For broader rider-focused tips that complement cockpit and weight-balance changes, see top motocross tips for young riders.
Diagnosing Stability Problems by Symptom: Headshake, Front-End Push and Traction Loss
Stability problems talk to you through symptoms. The mistake most riders make is treating the symptom as the cause. A headshake is not a fork problem until you have ruled out the rear. A front-end push is not a bar-position problem until sag is confirmed. Use the workflow below in order, and change one thing per test session.
The Ordered Diagnostic Workflow
- Confirm sag first. Measure rider sag and free sag with the rider in full gear, standing in the attack position. If either number is outside the target window for the rider's weight, stop and fix the spring rate before touching a clicker.
- Check the mechanical basics. Tire pressure, wheel alignment, steering-head bearing play, linkage and swingarm bearings, and fork oil condition can all mimic a suspension problem. A loose steering-head bearing feels like headshake; a worn linkage feels like a rear-end kick.
- Match the symptom to the likely cause using the table below.
- Make one clicker change, log it, and retest on the same section of track. Two clicks is a large move on most motocross forks and shocks.
- If the symptom persists after two clean tests, stop adjusting and inspect the mechanical items again. Chasing a bearing problem with clickers wastes a practice day.
Symptom-to-Cause Table
| Symptom | Likely Cause | First Fix | What to Avoid |
|---|---|---|---|
| Headshake at speed | Rear riding low, front too high; or loose steering-head bearing | Soften rear compression one click; check bearing play | Stiffening the front |
| Front-end push in corners | Rider sag too high, front unloaded; or fork height too low | Reset rider sag, then recheck fork height | Raising fork height before sag is confirmed |
| Rear-end kick on braking bumps | Rebound too fast, or too much preload | Slow rear rebound one click | Adding preload |
| Loss of traction on exit | Rebound too fast, or spring too stiff for rider weight | Slow rear rebound one click; verify spring rate | Backing out all clickers |
| Harsh feel over small bumps | Spring too stiff for rider weight, or compression too firm | Check spring rate; soften compression one click | Backing out every clicker at once |
| Wandering front end at low speed | Tire pressure too high, or fork rebound too slow | Set tire pressure to the manufacturer's recommendation; add one click of front rebound | Dropping fork height |
Why Each Fix Works
Headshake is a rear-height problem more often than a front problem.
Front-end push is a weight-bias problem.
Rear-end kick on braking bumps is usually rebound.
Watch out: if the bike still feels unstable after two clean setup tests, the cause may be the rider. Body position and balance drills can help.
Watch out: chasing a symptom with three changes at once hides the real cause. One change, one test, one log entry.
Track-Condition Settings and the Setup Log That Keeps You Honest
Track conditions change the setup, not the sag. Keep rider sag fixed and adjust damping and tire pressure for the day. The table below gives starting points, not verdicts. Test one change at a time and log the result.
Track-Condition Starting Points
| Condition | Tire Pressure (front / rear) | Compression | Rebound | Notes |
|---|---|---|---|---|
| Hardpack | Manufacturer spec, or 0.5 psi above | Stiffen one click for feel | Stock | Firm feel helps the front bite; too soft and the front pushes |
| Sand | 0.5-1 psi below spec | Soften one click | Slow one click | Soft settings let the bike float; stiff settings make the front knife |
| Mud | 0.5 psi below spec | Soften one click | Slow one click | Clear ruts with body position, not clickers |
| Braking bumps | Stock | Stock | Slow rear one click | Rebound is the lever here, not compression |
| Rough, choppy track | Stock | Soften one click | Slow one click | Soft and slow keeps the tires on the ground |
| Supercross-style rhythm | Stock | Stiffen one click | Stock | Firmer settings resist bottoming on big landings |
Why Each Condition Responds Differently
Hardpack rewards a firm front end because the tire needs to bite a slick surface. Softening compression on hardpack lets the front ride low and push. Sand rewards a soft, slow setup because the tire needs to float on top of the surface instead of digging in. Mud is a traction problem, not a damping problem; clear the ruts with body position and keep the clickers near stock.
The Setup Log That Makes It Repeatable
A setup log turns a good day into a repeatable baseline. Record these fields after every session:
- Rider sag and free sag (in millimeters)
- Fork height above the triple clamps (in millimeters)
- Front and rear compression and rebound clicker counts from full soft
When you arrive at a similar track, start from the logged baseline instead of from zero. Over a season, the log shows which adjustments actually helped and which were noise.
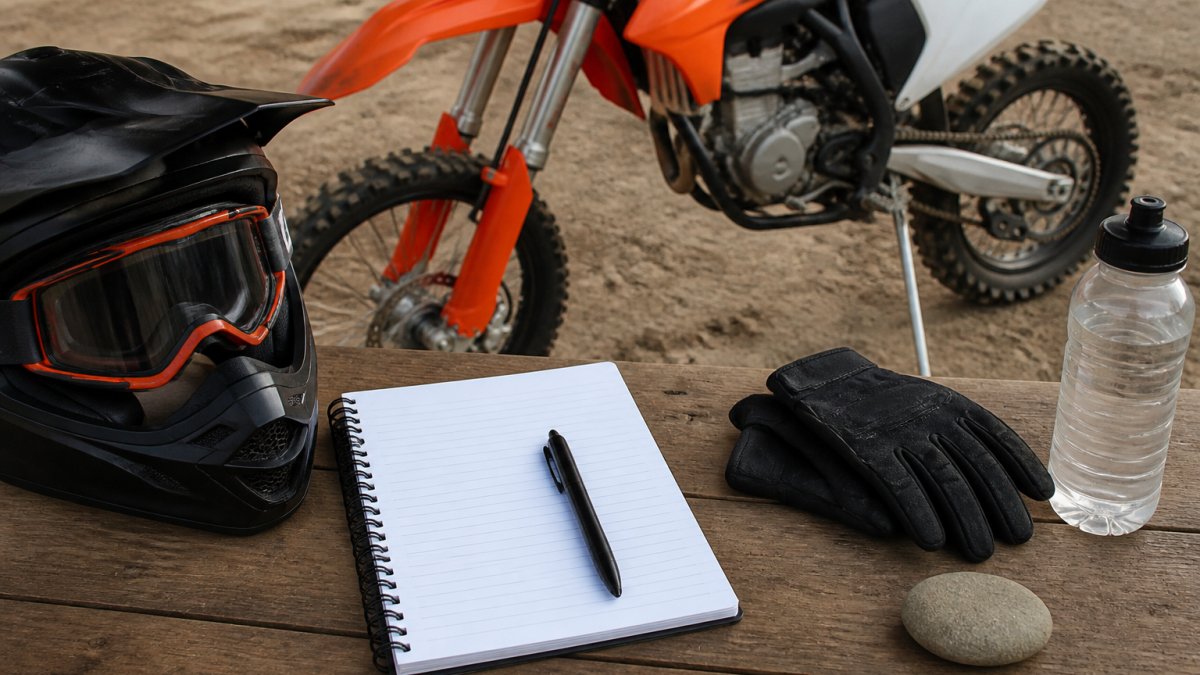
The Nelmgerian MX Training Journal gives you a place to log sag, clickers, tire pressure, and conditions ride after ride.
Building a Setup Routine With Your Young Rider
Young riders need a simpler routine. Small bikes, light riders, and short attention spans change the process.
Start with three numbers only: rider sag, fork height, and bar position. Skip damping until the rider is comfortable standing on the pegs.
Make it a habit:
- Check sag before every practice day.
- Let the young rider help measure and call out numbers.
- Log one thing they improved each session.
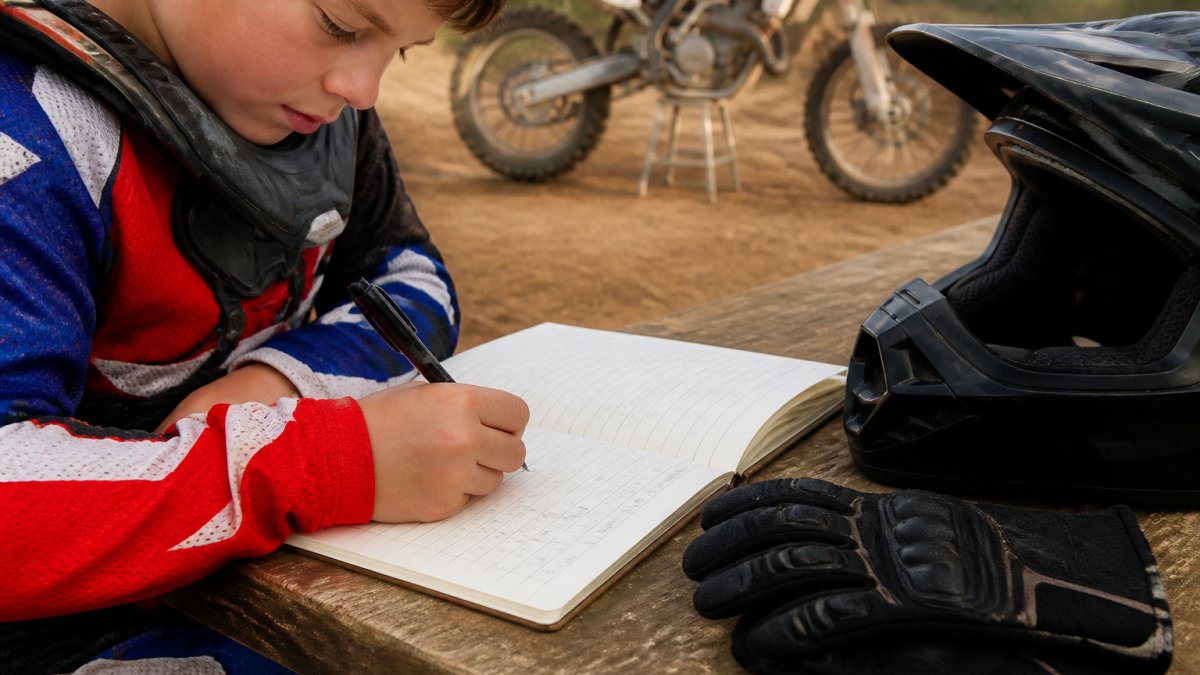
For kids, a journal can make tracking practice more fun. Our motocross training journals for kids give young riders a place to track practice, goals, and progress, and help keep them learning between race days.
A setup routine can also encourage responsibility as the rider learns to care for the bike.
Frequently Asked Questions
What are the most important motocross bike setup adjustments for stability?
Start with rear sag, because it sets the bike's attitude and everything else follows from it. From there, set fork height in the triple clamps, then adjust compression and rebound clickers in small steps. Finish with handlebar position and lever angles so the rider can weight the front end. Tire pressure belongs on the list too: a few psi difference changes how much the front bites. Change one item at a time so you know which adjustment actually helped.
Should I set shock sag standing or sitting?
Measure rider sag with the rider in the standing attack position, feet on the pegs, in full gear. Standing is how the bike is actually ridden through rough terrain, and it keeps the reading consistent between checks. Sitting produces a different number and will lead you to the wrong spring rate. Have a second person hold the bike steady and read the tape while the rider stays still, then repeat the measurement two or three times and average the results.
How do I set sag on a motocross bike?
Put the bike on a stand so the rear wheel hangs free and measure from the axle to a fixed point on the fender. That is your fully extended number. Set the rider on the pegs in gear, bounce the rear once, let it settle, and measure again. The difference is rider sag. Adjust the shock preload ring until you hit the target in the owner's manual, then check free sag to confirm the spring rate is right for the rider's weight.
Can tire pressure affect motocross bike stability?
Yes, and it is often the cheapest fix a rider has. Lower pressure lets the tire conform to ruts and roots, which adds traction and calms the front end on rough ground. Too low and you risk pinch flats and a mushy, vague feel in fast sections. Check pressure cold, before the bike has been ridden, and write down what you ran so you can repeat it. Adjust in small increments and test on the same track section each time.
Getting a young rider stable on the bike takes patience and a written record. Nelmgerian MX helps families build that habit with rider training journals, storybooks, and screen-free activities built around motocross. Our journals give young riders a place to log practice, goals, and race progress, while our books build confidence and a love of reading between practice days. Get started with Nelmgerian MX and turn every practice day into measurable progress.